February 14, 2024 • #
The absolute most wild woodshop anyone’s ever built.
The absolute most wild woodshop anyone’s ever built.
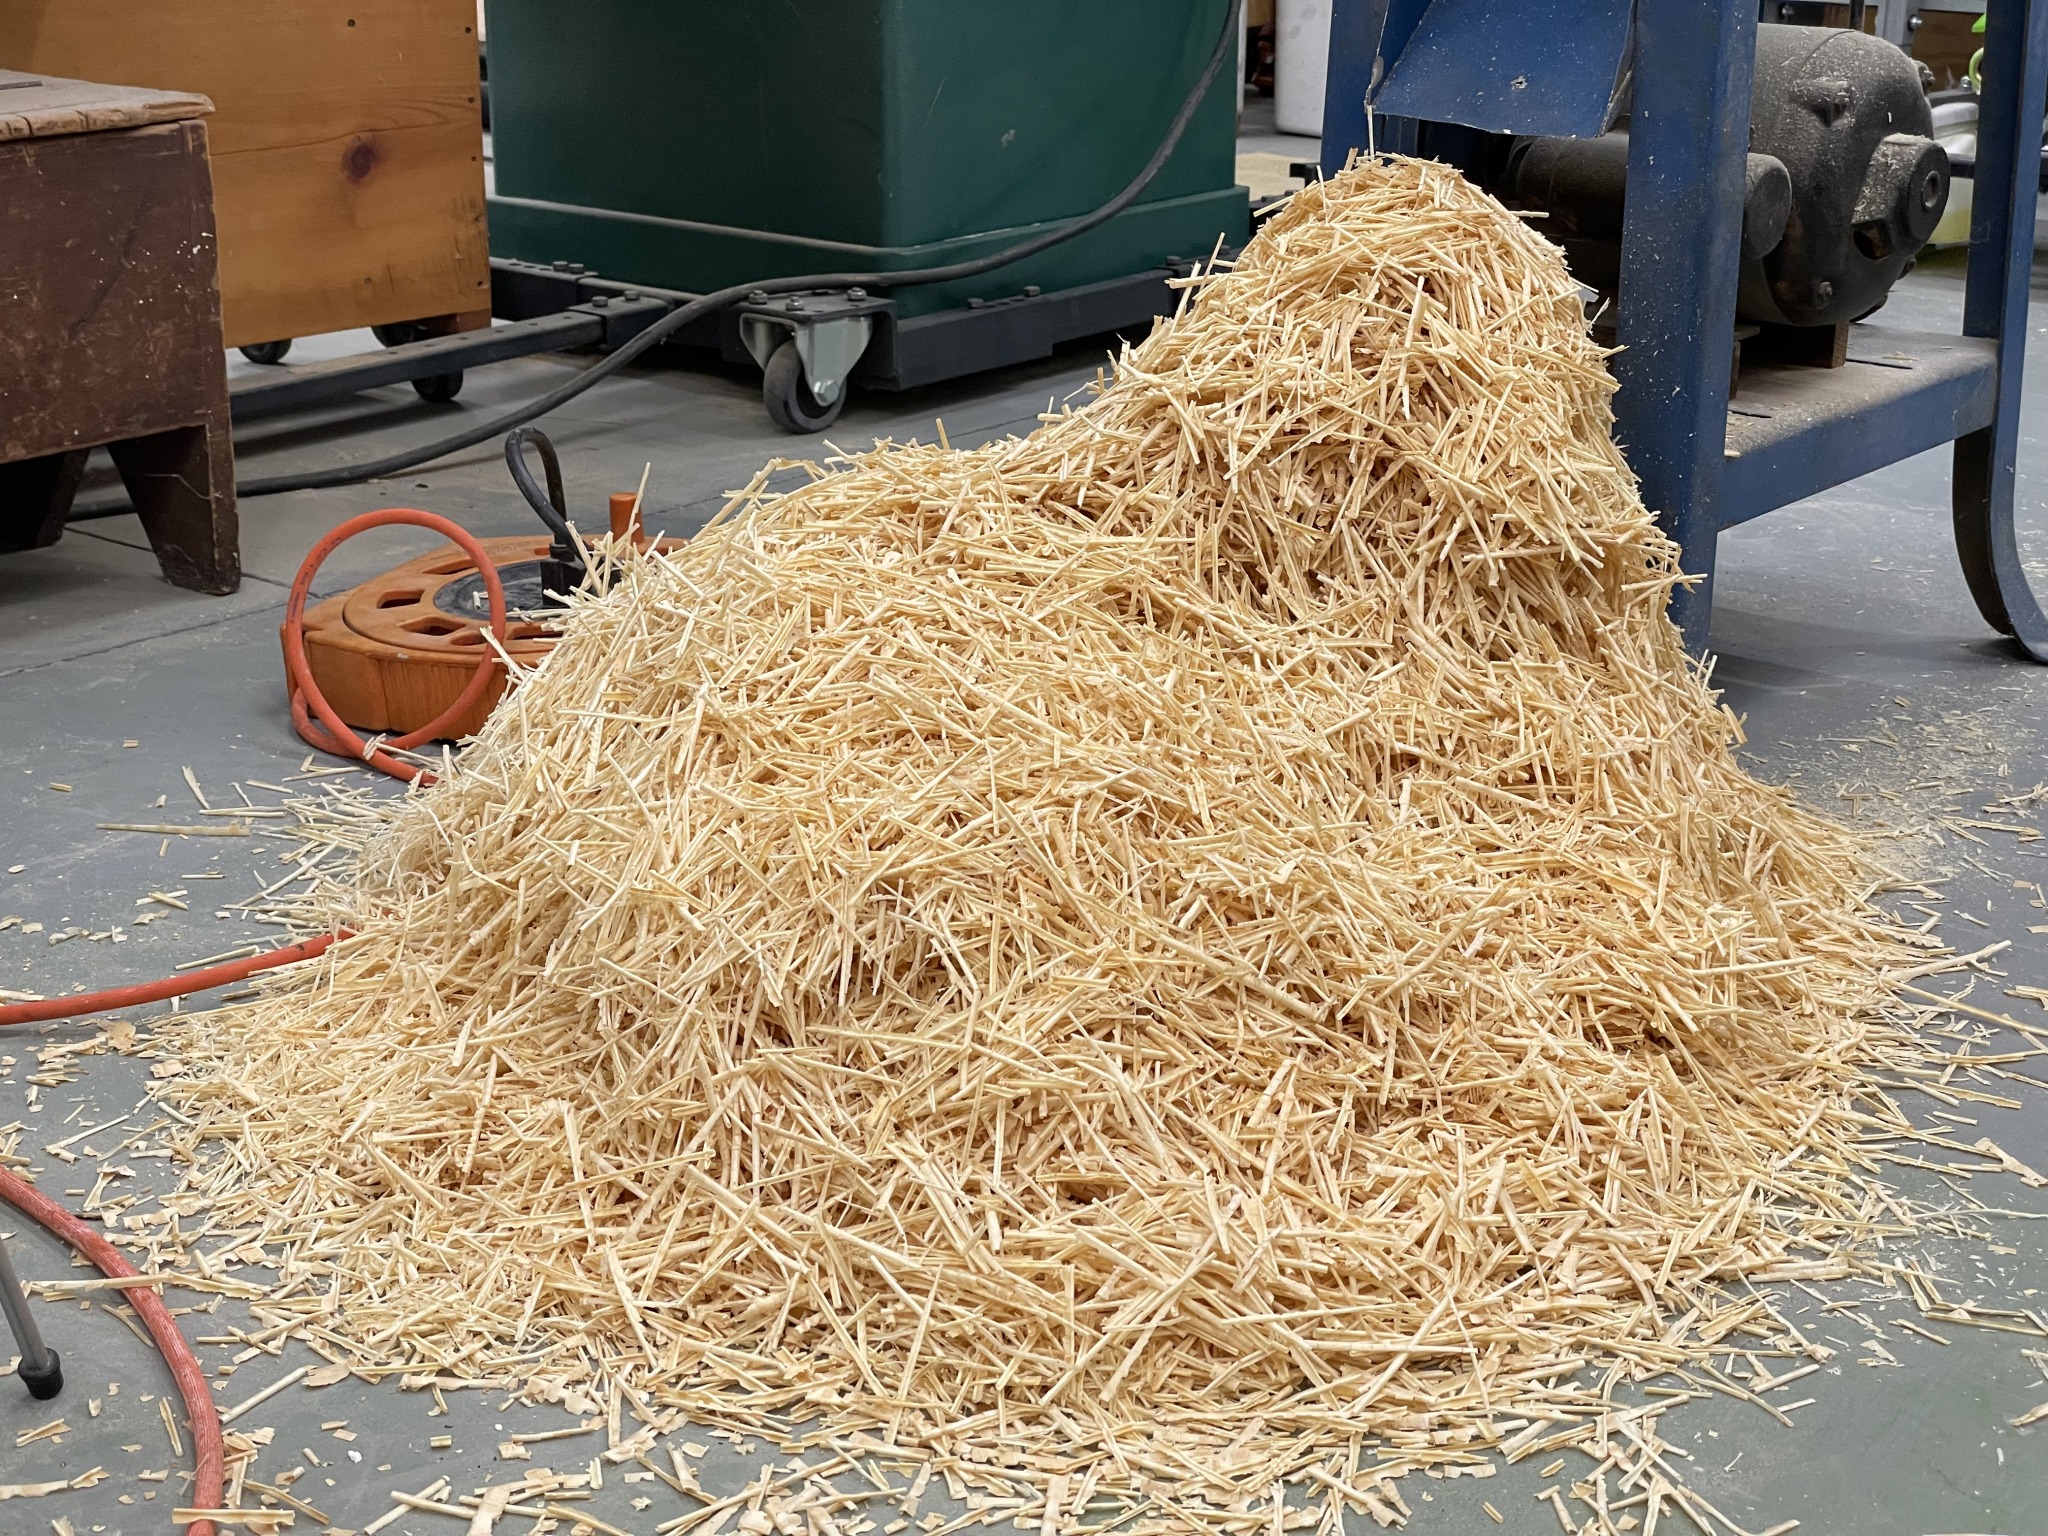
Not many things as satisfying as milling rough lumber. And watching the remnants collect.
Nick builds the most beautiful workbench you've ever seen.
Designing a jig for repeatable miter splines.
Working on a design for a white oak dining table.
Building some bookshelves for my home office.
The Wood Whisperer on YouTube.