Coleman McCormick

Archive of posts with tag 'House'

Designing a Dining Table

September 7, 2022 • #

One of my next projects I’d like to work on is designing and building a custom dining table. The table we have now was a simple bare-wood pine table we bought probably 15 years ago and painted flat black. For years it was our office desk, where one of us sat on each side; then we converted it to our small dining table. It’s still going strong today, with remarkable durability. I haven’t even repainted the tabletop.

But we want a larger proper dining table that we can use for the family. The current table doesn’t get much use, but we’ve now got a proper dining room that we’d like to use for its intended purpose.

My idea is a long and relatively narrow thick panel, with some kind of simple cross-member base assembly. This is the rough SketchUp model so far:

White oak dining table

I’m designing it to be extendable with a leaf in the center, with the support apron rails forming an enclosed box in which we could store the leaf element when it’s not in use. For typical day-to-day we wouldn’t need it extended — only having that as an option for larger events and things. I don’t want to have to store the leaf somewhere where it’ll get buried out in the garage or take up space elsewhere, so it’s best if it stays with the table. The whole thing is designed to be 90” when fully extended. I’ve worked out the measurements so I think this approach will work with a leaf size that’ll be storable within this hidden box underneath. No one would even know it’s there.

Leaf storage underneath the table

The design doesn’t have any of the finishing touches I’m imagining working in somehow. The chamfers, round-overs, joinery. The vision right now is to do this with probably 10-quarter white oak (for the top) and maybe 8-quarter for the legs and base components. It’ll be a fun project if or when I can find the time to do it. I’ve wanted to tackle a more substantial furniture project for a while, and it’d be gratifying to build something that the family can use and enjoy for the years to come.

✦

Office Bookshelves

March 31, 2022 • #

I had this long, wide, high-on-the-wall shelf in my office that was there since we moved in. I had wanted to take it down and do something different, but just left it there while I considered some alternatives. I considered a piece of furniture, moving my desk arrangement, and different variations of shelves that could work. Eventually I decided I wanted some simple, long shelves to give me plenty of space, and to put them up high over the reading chair area.

I wanted to get back to woodworking, and thought this would be a good chance to design something simple and work with some interesting hardwood.

Designing

Shelves in SketchUp

With no idea exactly what stock to use, I headed to Anderson Lumber in St. Pete. My only requirements were rough dimensions: I wanted 2, each about 6’ long and at least 8-9” of width to work from. Most of what’s available at lumber yards like Anderson is rough sawn, so you have to keep in mind having enough stock to work with to give you enough to meet your finished dimensions after milling, planing, and sanding is done.

I found a single 14’ piece of sapele that fit my needs perfectly, so I had the guys there chop it in half to fit in my car. That gave me a couple of pieces about 7’ long, which gave me plenty of length to work with. Plus getting both pieces from a single stock was great for getting a grain match and color similarity to my two shelves. Sapele is an African species similar to mahogany, so the grain on it was excellent. My plan was to finish with an oil of some kind.

Lumber shopping
Lumber shopping

For mounting, I wanted to do something simple that would let the wood be the main feature, so I went with some brass brackets I found on Amazon. Really they’re “brass-colored steel”, which isn’t exactly what I wanted, but they look alright; they’re not that visible. If I was going for a design that had more prominent metal components, I’d have looked around more for brass options. I was even considering doing my own brass plating and soldering, but decided this was more about the wood. Though I would like to venture into some metalwork on a future project. All I had to do to get them the way I wanted was cut the upturned outer ends off so I could hide the brackets into routed channels. That way I’d end up with a floating shelf look, with only part of the wall strip visible.

Milling and cutting

The first step in the build process was to get the lumber cut to rough dimension and milled up. With no working jointer I just hand-planed one of the edges to get it as flat as possible and ripped it on the table saw get close to finished width. Then it was onto the planer to smooth out the rough texture and mill to final thickness.

In the office I first mounted the brackets so I had known, firm stud locations with good alignment on the wall location. Then I sat the boards up there to trace out the location for the bracket channels I needed to add with the router. Also, my wall isn’t what you’d call “flat”, so the brackets aren’t perfectly perpendicular. So I wanted to make sure I left enough channel width to have some play in there for positioning. If these shelves ever move to another wall with standard 16” stud separation, they should be easily remountable.

I had this chunk of ipe laying around that I’d grabbed from a scraps bin years ago. Originally I was going to make an iPad stand from it, but never did. So I decided to try out making some breadboard ends to make the shelves a little more interesting, rather than just slabs of lumber. To keep it simple, and because these ends aren’t wide or load-bearing, instead of tenoning them fully onto the ends of the shelves, I just used a biscuit jointer and a couple of biscuits on each end. Without any long enough pipe clamps or straps, the glue-up for the breadboards got interesting:

When you don't have long clamps
Ropes as clamps

The ends were left a touch long on each end so we could do a hair-thin ripping pass on the table saw to even everything up.

The ipe provides nice contrast and is such an interesting material when you get it sanded down to a high grit. There’s a green iridescence that comes out when you get it nice and smooth that I love.

After everything was dry, the ends trimmed up, and my channels marked, I set to work on routing those channels to flush inset the brackets underneath. In the shop we built a plywood jig fit special to the palm router with a small straight bit. Proper jig-making is essential to idiot-proofing steps like this in your process. Routers can do hard-to-fix damage to your work if you aren’t careful, so it was worth the half hour we spent measuring everything and making the jig. Once all set, just clamp it on at the edge of the workbench, and follow the edges to eat away the material to make the channels. A few passes and the results were smooth and consistent.

With a final sanding of everything down to the finish grits, it was time for finish.

Finishing

Shelves prepped for finish

My finish of choice was a Danish oil, which is really a combination of tung/linseed oil, varnish, and mineral spirits. With its thin consistency, you wipe it on in a thick coat and let it soak in for about a half hour, then wipe off the excess. I decided to do 3 coats, with light sanding at 400 grit or buffing with a rag in between each one.

Breadboard ends unfinished

The final product came out beautiful. After curing a day or so, I mounted them up on the wall.

✦

Another New House

January 25, 2021 • #

The Summer of Lockdown last year really made us re-think what we want in a house. It hasn’t quite been two years in our current house, and we like the neighborhood and still love St. Pete, but the life changes induced by the pandemic spurred us into buying a new house that fits better with our reoriented priorities.
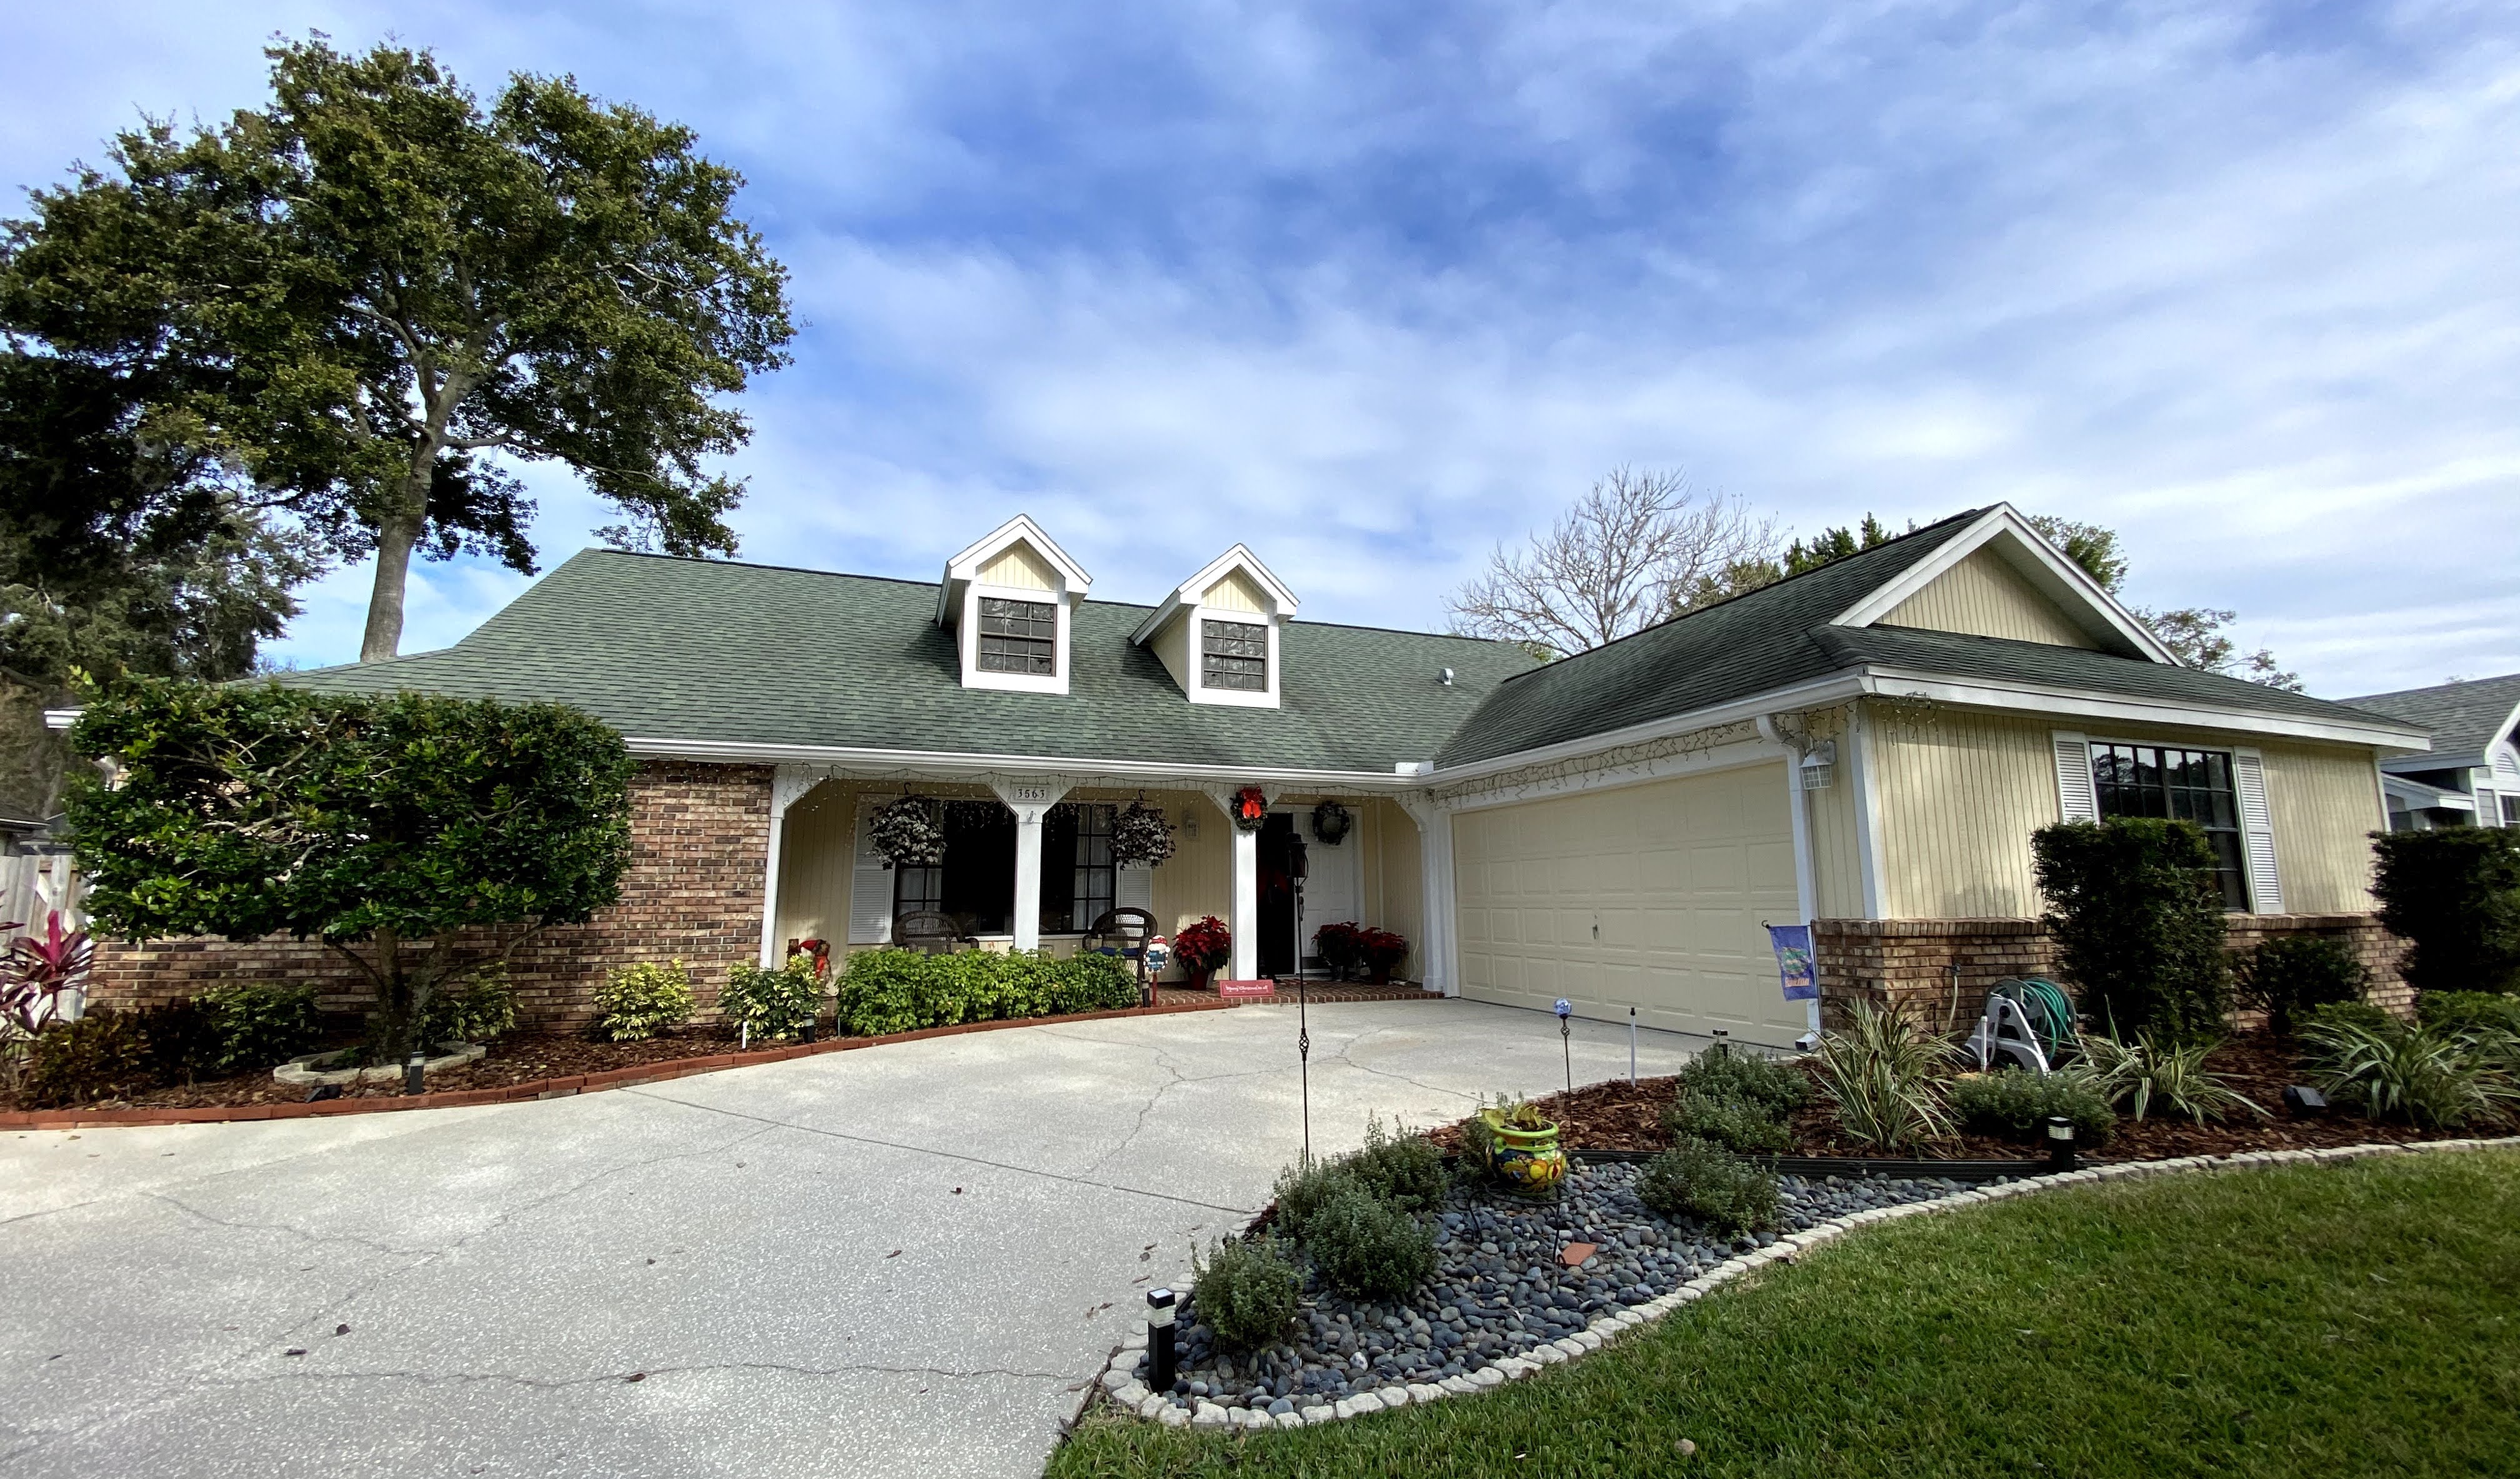
Another new house

Four primary motivators:

  • Closer to the family, both Colette’s and mine — we’re already in the vicinity, but closer makes things easier
  • A pool! — we thought this wouldn’t be a big deal, until having to spend a Florida summer holed up with the kids with nowhere to go
  • Closer to (better) schools — our kids are just starting
  • Shift to perma-remote work makes short commute distance irrelevant — this wasn’t even in the mind at all when we bought the current place, so loosening the geographic requirements opened up the market a lot

We haven’t moved yet other than bringing over some easy-to-move things plus tools and gear to get some projects done ahead of the full move.

The list of pre-move projects started with just a few but has expanded as I dug into the first ones. We decided that several of these things would be easier to just bite the bullet and do before we move all the furniture and difficult-to-displace items into the house to have to work around. What started with removing popcorn ceilings turned into also removing wallpaper (one of the rooms has layers on layers that have been textured and painted on top of), painting ceilings, painting walls, replacing fans. The rooms I’ve got done so far look great, and we didn’t have to stumble around bulky furniture or loads of kids stuff to get these messy projects done.

There’s an expanding list of other side projects coming together, but none that will prevent us from getting moved.

One of my focus goals for the year is to devote more time to home improvement and DIY stuff than I have previously. It requires back-seating some other priorities, but there are a few things in the works that’ll be super satisfying if I can make the time to work on them. One I’m most excited about is an outdoor kitchen-slash-detached micro office space. Once we get moved that’s one we’ll be tackling first, planning to document the process and maybe even make some video along the way.

✦
✦